


Tự sướng hay thủ dâm là một cách để khám phá cơ thể, cảm nhận khoái cảm và chủ động thỏa mãn nhu cầu sinh lý tự nhiên. Tuy nhiên, hành động này nếu lặp đi lặp lại mỗi ngày có thể tiềm ẩn những rủi ro sức khỏe khiến nhiều người lo ngại. Vậy …
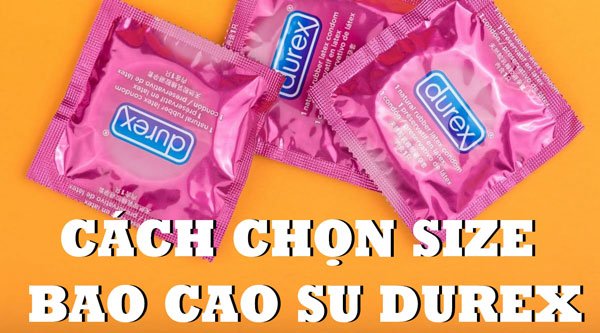
Cách chọn size bao cao su Durex đúng kích thước dương vật
Dạo gần đây, tình trạng tuột bao, rách bao cao su Durex khi đang quan hệ tăng lên một cách đáng kể. Nguyên nhân phổ biến dẫn đến các sự cố không may này chính là do nam giới chủ quan nghĩ rằng bao Durex phù hợp với mọi kích thước dương vật nên đã …

8 dấu hiệu phụ nữ thiếu hơi đàn ông chính xác nhất
Khi có nhu cầu ham muốn tình dục nam giới thường sẽ tìm cách xả ra bên ngoài còn phụ nữ khi thiếu thốn chuyện tình dục sẽ chỉ âm thầm chịu đựng. Vì phụ nữ thường là đối tượng dễ e ngại trong chuyện phòng the nên ít khi nào chủ động hay biểu …

Hướng dẫn cách kích thích âm vật khiến nàng sướng tột đỉnh
Nam giới thường nghĩ rằng âm đạo chính là nơi chưa điểm G duy nhất mang tới khoái cảm cho phái nữ khi ân ái nên thường sẽ chỉ chú tâm chăm sóc cho vùng âm đạo. Thế nhưng trên thực tế, nữ giới không phải chỉ có một điểm G bên trong âm đạo …

Les quan hệ có mất trinh không? Cách quan hệ nữ – nữ an toàn
Như chúng ta đã biết, con gái thường mất trinh trong lần đầu quan hệ tình dục do dương vật thâm nhập vào bên trong âm đạo gây ra. Điều đó cũng làm cho nhiều bạn tò mò không biết les quan hệ có mất trinh không vì những bạn ấy đều là nữ và …

Tinh trùng vào âm đạo có cảm giác gì không?
Khi quan hệ tình dục lên đến cao trào cực khoái ở nam giới sẽ xảy ra hiện tượng xuất tinh. Nếu như cặp đôi quan hệ mà không đeo bao cao su thì tinh trùng khi xuất ra sẽ bắn thẳng vào âm đạo và lúc này những chú tinh binh sẽ có cơ …

Nhận biết đàn ông yêu thật lòng qua tin nhắn đơn giản
Con gái khi bước vào một mối quan hệ cứ luôn muốn biết rằng liệu đối phương có yêu mình thật lòng hay không. Mặc dù, bạn trai luôn thể hiện tình cảm và chứng minh tình yêu nhưng các cô gái vẫn không yên tâm. Các nàng muốn tự mình kiểm chứng bằng cách …
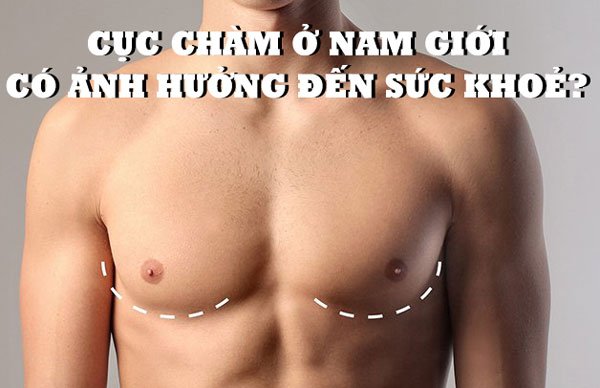
Cục chàm ở nam giới có ảnh hưởng đến sức khỏe hay không?
Nhiều nam giới ở độ tuổi dậy thì tỏ ra lo lắng khi phát hiện ngực xuất hiện cục u nhỏ và có cảm giác đau âm ỉ xảy ra. Theo dân gian, khối u nhỏ đó còn được gọi là cục chàm hay trái chàm, thường xuất hiện ở nữ giới như là một …

Tại sao lần đầu quan hệ không cho vào được? Cách xử lý đúng
Quan hệ lần đầu không thể cho dương vật thâm nhập vào bên trong “cô bé” là tình trạng phổ biến ở nhiều cặp đôi. Điều này khiến cho vô số bạn cảm thấy hụt hẫng khi từ trước đến nay cứ nghĩ rằng tình dục là hoạt động dễ dàng và tràn ngập thăng …
Chào tất cả mọi người!
Cảm ơn vì đã sử dụng WordPress. Đây là bài viết đầu tiên của bạn. Sửa hoặc xóa nó, và bắt đầu bài viết của bạn nhé!